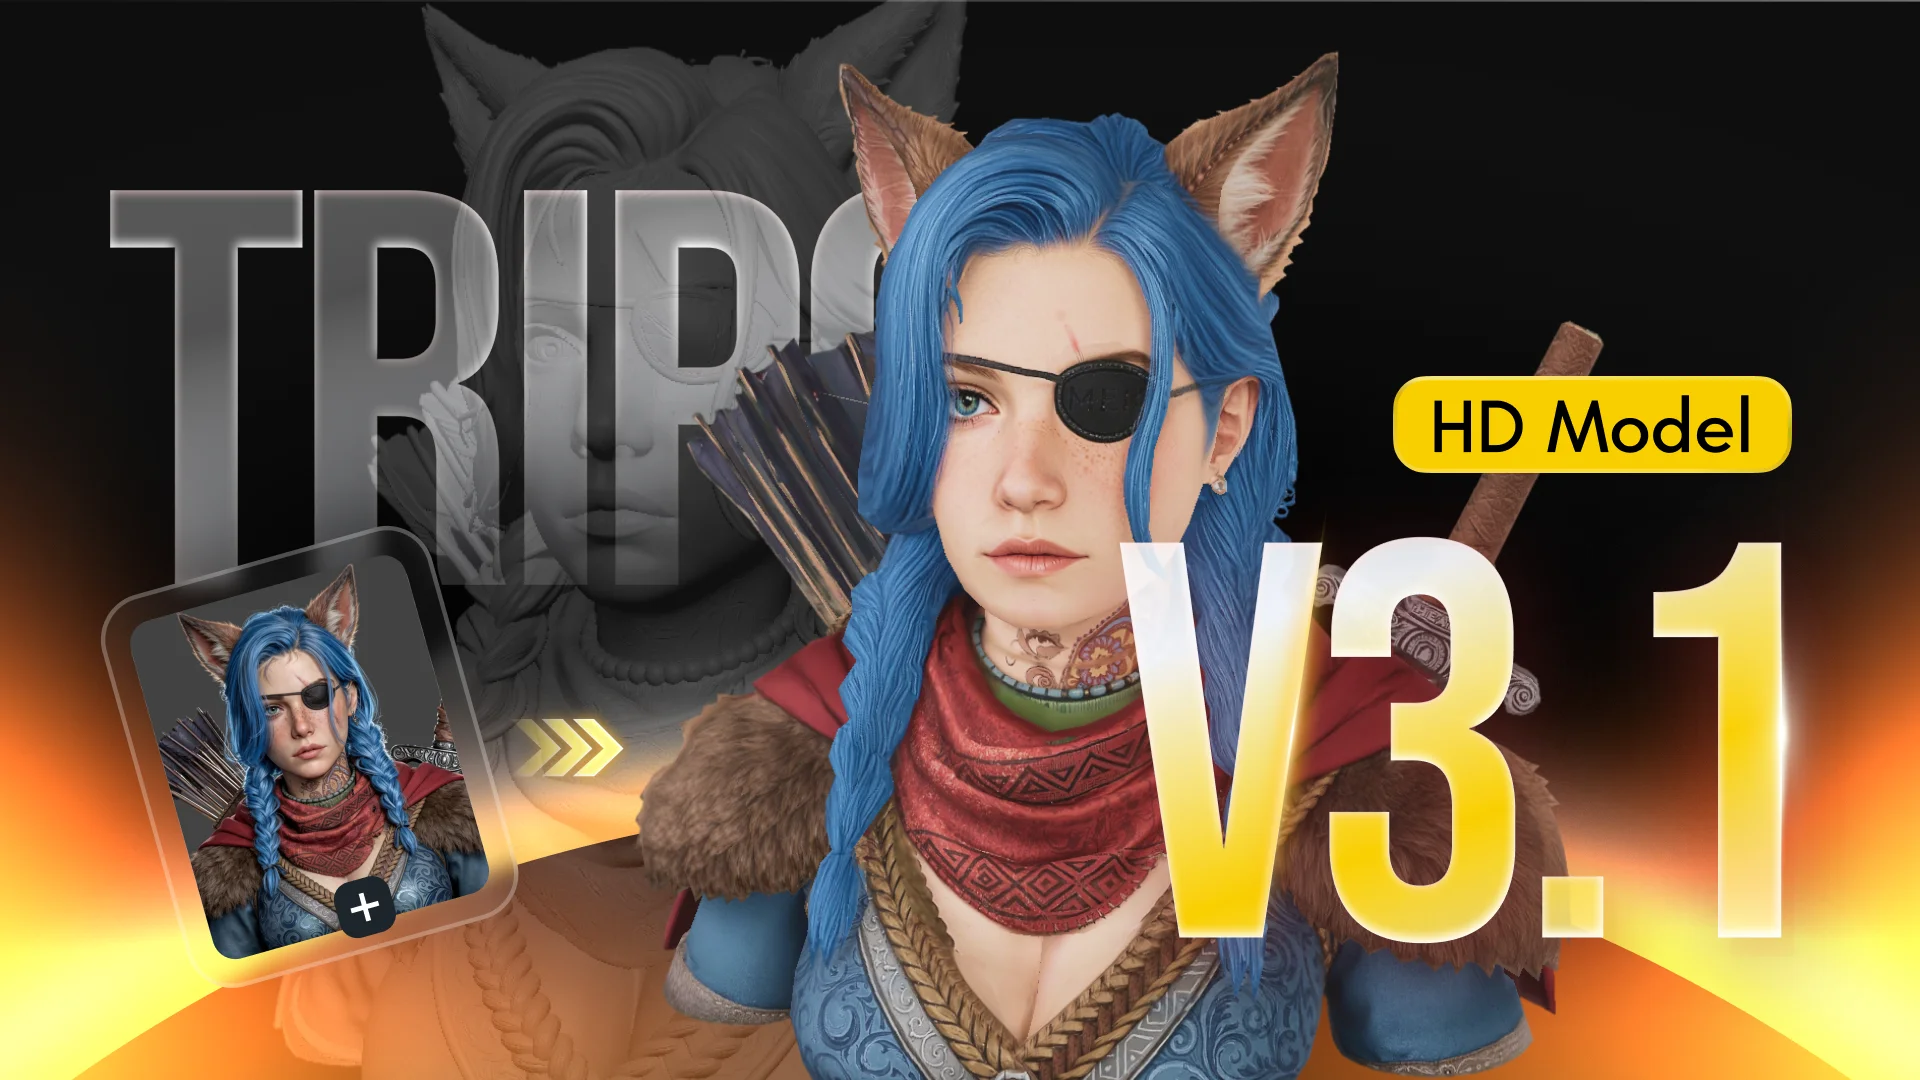
Tripo is a browser tool - nothing to install. Here's the fastest path from nothing to a usable 3D asset. Every step is explained in full below.
- Sign up at Tripo Studio (email, Google, Discord and other social log-ins work). The free plan is enough to learn the interface.
- Add an input - a text prompt, one clear photo, 2–4 photos from different angles, or a sketch.
- Pick a model and mode - P2.0 for rig-ready quad meshes, H3.1 for detail, v3.0 Ultra for all-round, Smart Mesh for fast low-poly. Use One-Click for a finished model or Build & Refine to edit first.
- Generate and compare - results arrive in seconds. Keep the best version.
- Refine - segment parts, retopologise to a polygon budget, fix textures with Magic Brush, or regenerate one region with Mesh Edit.
- Export - GLB for web, FBX for engines and rigs, OBJ/STL/3MF for sculpting and printing. Or send it to Blender, Unity, Unreal or Godot via the bridge.
Before you start: account, plan and what to prepare
Tripo runs entirely in the browser through Tripo Studio. Create an account with an email address or a social log-in, and you land in a workspace with a Generate panel and your asset library. Two things are worth knowing before you spend any credits.
Free plan
About 200 credits a month (roughly 8–13 models), one task at a time, public models under CC BY 4.0, and no commercial use. Good for learning the interface - not for client work.
Pro - $19.90/mo
3,000 credits, 10 concurrent tasks, private models, commercial rights, unlimited storage and downloads, multi-view input and generate-in-parts. The tier where Tripo becomes a real tool.
API is separate
The web app and the developer API are billed separately. If you only want to click buttons, you never need the API.
The full workflow, step by step
1Choose your input
Tripo accepts four kinds of input, and picking the right one saves more time than any setting:
- Text prompt - fastest for brainstorming; least predictable. See writing prompts below.
- Single image - the most reliable path when you know what the object should look like. JPEG, PNG or TIFF under about 10 MB.
- Multi-view (Pro and up) - front, back, left and right images. Gives P2.0 and v3.0 far more to work with and fixes most "the back is wrong" problems.
- Sketch - a rough drawing works as a form study; clean, high-contrast linework does best.
You can also generate a concept image with the built-in GPT Image 2 step and send it straight to 3D without leaving Studio. For bulk work, Batch 3D Gen takes up to 10 images at once (each under 5 MB).
2Prepare a good reference image
Image quality is the single biggest factor in output quality. Before uploading:
Do
- Show the whole object with its full outline visible
- Use even, soft lighting and moderate contrast
- Use a plain, uncluttered background
- Choose a three-quarter or straight-on view
- Use a high-resolution image for fine detail
Avoid
- Heavy shadows, reflections or motion blur
- Cropping off part of the object
- Dark, low-resolution or heavily filtered photos
- Multiple objects in one frame
- Extreme fisheye or wide-angle perspective
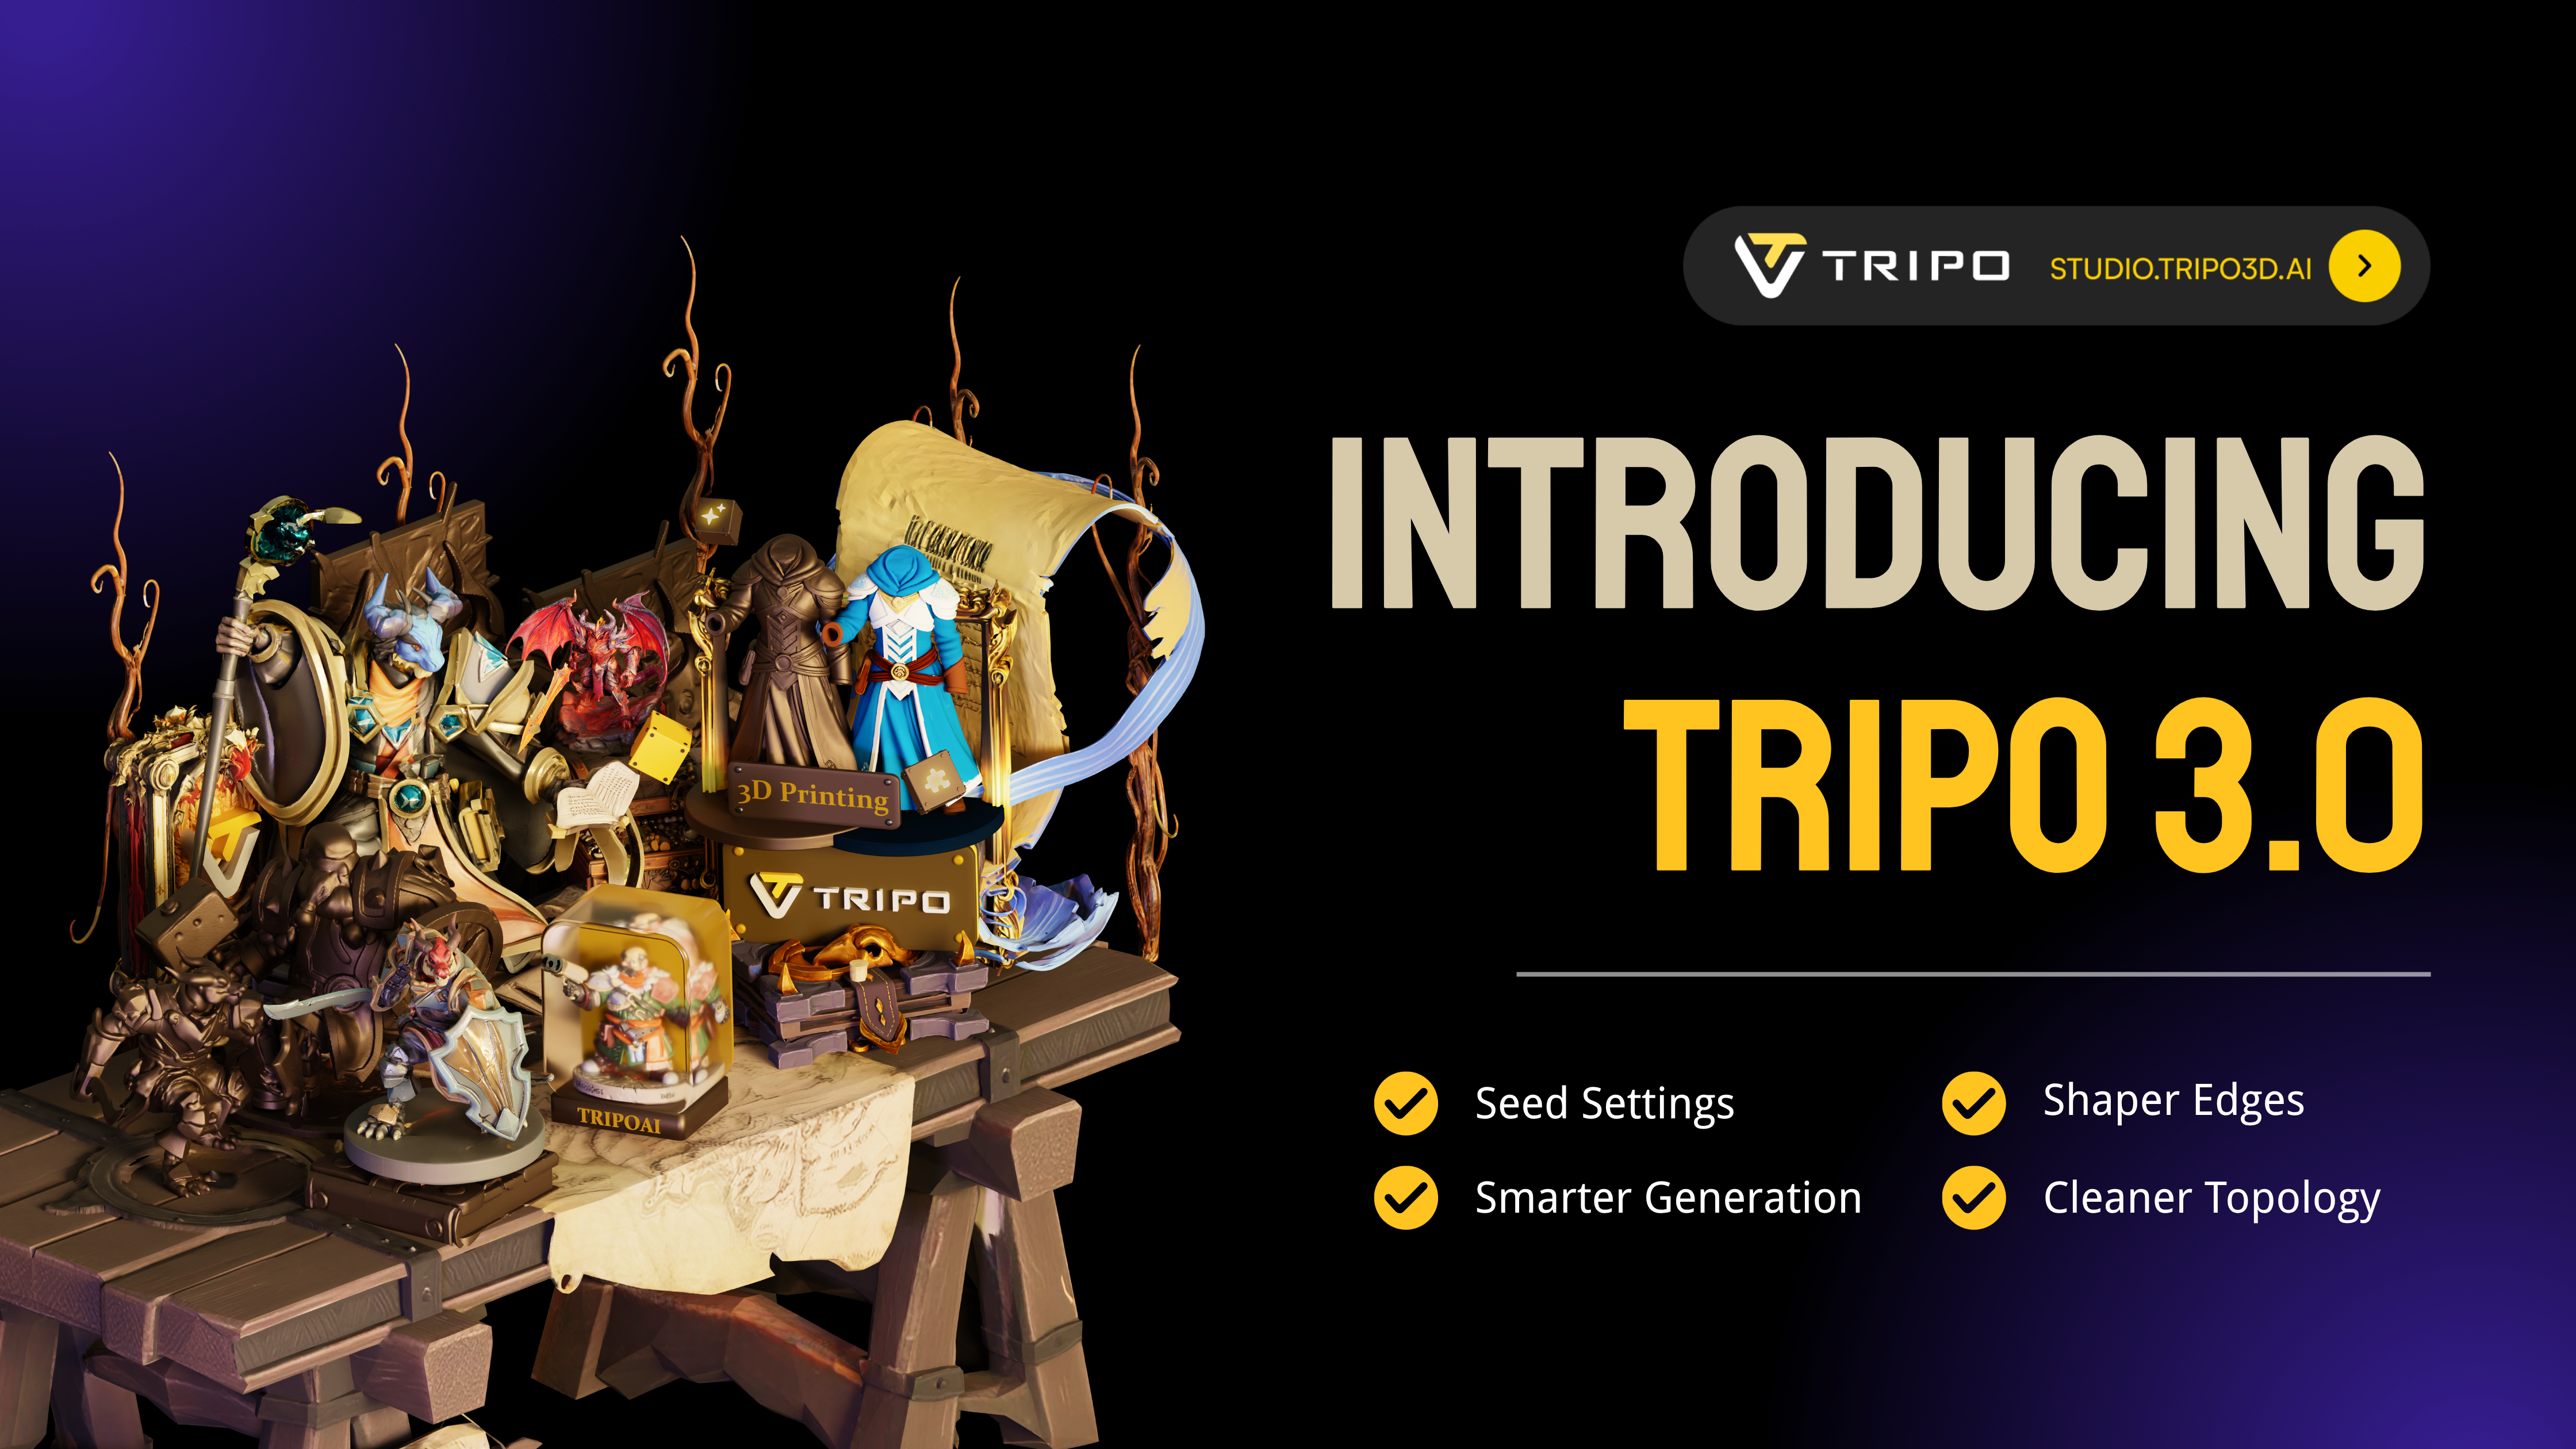
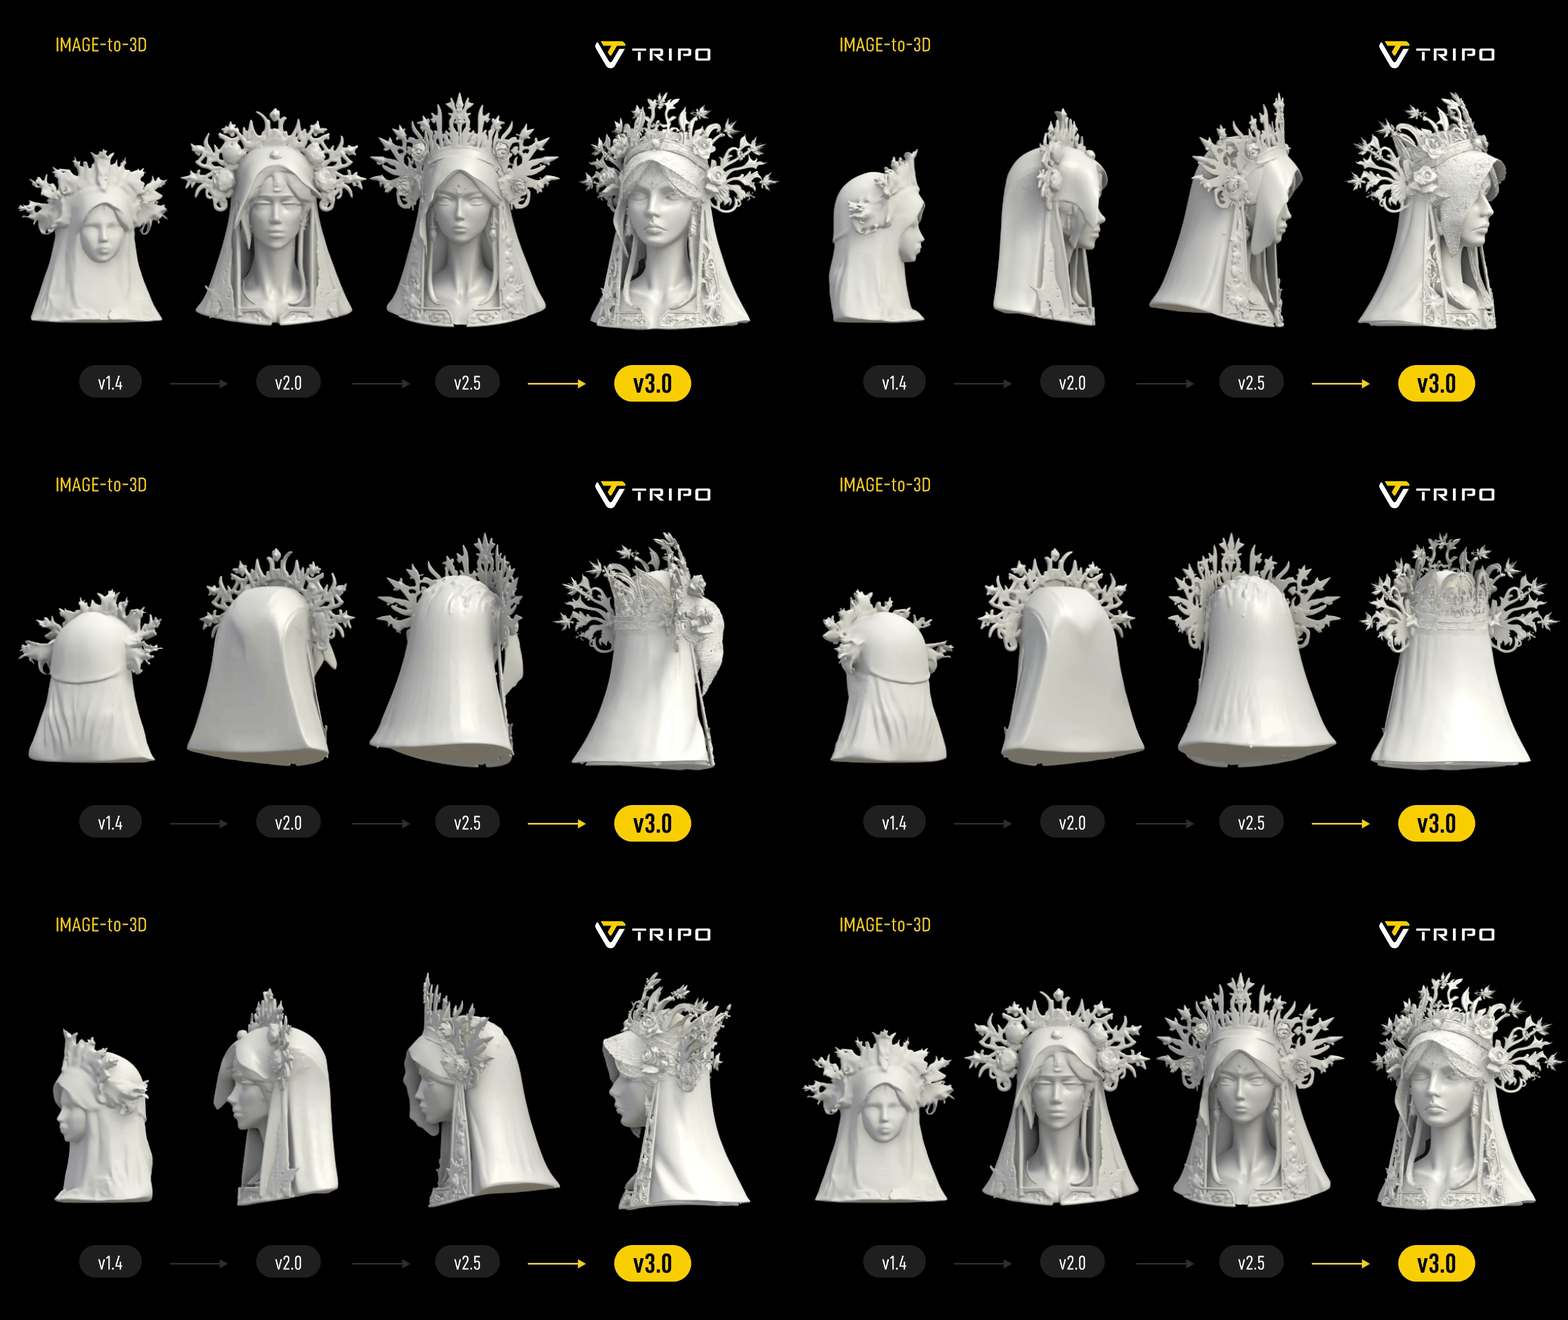
3Pick a generation mode and model
In the Generate tab you make two choices. First, the mode:
- One-Click - produces a fully textured, PBR-ready model in one pass. Best for quick results and mockups.
- Build & Refine - produces an untextured base mesh that you segment, edit and then texture. Best for anything you'll customise. Turn on Generate in Parts here if you want the model to arrive already split into components.
Second, the model and topology (quad or triangle). Use the table in the next section to choose. If the asset is going to a game engine, enable Smart Low Poly or choose quad topology now rather than fixing it later.
4Generate, compare and keep the best
Click Generate. Results come back in roughly 2 seconds (Smart Mesh) to under a minute (P2.0), and you're notified when a task finishes. A few habits pay off:
- On P2.0, ask for several versions - one prompt can return up to four variants at different face counts. Pick the density that suits your target platform.
- Orbit the model in the viewer and check the back, not just the front. That's where single-image generations fail.
- If it's close but not right, change the input or seed and regenerate rather than polishing a bad base. Cheap models, so re-roll freely on a Pro plan.
- Check the History panel - you can preview any earlier step and either Restore This Version or Save as New Version.
5Segment the model into parts
Open the Segmentation tab to split a model into separate, editable components - handy for swapping a weapon handle, recolouring one panel, or rigging armour independently.
- Select the model in your Assets panel and click Start Segmenting. Parts appear in different colours.
- Fix mistakes with the Brush (add or remove areas; the eyedropper picks a part), Add Part, and Merge (Ctrl-click several parts).
- Part Completion automatically fills in missing geometry in incomplete parts.
- Newer Studio builds add a 2D pre-segmentation preview and three precision levels, so you can see the split before spending credits.
- Click Confirm after every operation - unconfirmed changes don't apply.
6Retopologise to your polygon budget
High-poly output looks great in a render and terrible in a game. The Retopology tab remeshes the whole model, or just the parts you select.
- Choose quad or triangle topology to match your pipeline. Quad meshes export as FBX.
- Set a polygon count (face limit) for real-time targets.
- Smart Low Poly works best on simple shapes - props, crates, stylised objects. Complex organic models may need a higher budget.
- If you generated with P2.0, you may not need this step at all: its quad output is already clean (up to 25K quads or 50K triangles).
7Texture and repair with Magic Brush
One-Click models already ship with PBR maps. For Build & Refine models, or to change a finished look, open the Texture tab:
- Text-to-Texture - type a prompt, or click the lightbulb for keyword presets like "wood" or "scratches".
- Image-to-Texture - upload a reference image and click Generate Texture.
- PBR Generator - adds metallic and roughness detail.
- Texture quality - standard, detailed or native 8K on supported models.
Magic Brush fixes flawed areas without redoing the whole texture:
- Unlock Camera Control, rotate to the angle you want to repair, then lock it again - the texture is generated from that locked view.
- Use the default prompt or write your own, and set Creativity Strength (left = closer match, right = more creative).
- Generate variations, pick one from Reference Preview, brush over the area to fix, then click Save Texture.
8Fix one region with Mesh Edit (P2.0)
New with P2.0, Mesh Edit regenerates only a region of a mesh and leaves the rest untouched - so a nearly-right model no longer means starting over. The workflow:
- Open the P2.0 model you want to refine.
- Place a selection around the part that's wrong - a hand, a strap, a handle.
- Regenerate that region, then compare the result with your original.
- Repeat region by region until you're happy.
Mesh Edit is brand new, and Tripo's interface for it is still evolving, so exact button names may differ from what you see. Selecting a little more than the broken area is worth trying so the new geometry blends into its surroundings. Make your edits before you texture, rig or export, since later steps may not carry over cleanly.
9Rig and animate (optional)
- Select the model in Assets and open the Rigging tab.
- Click Auto Rig to build a skeleton and skin weights. It works best on humanoid and creature-like models in a neutral pose.
- Choose an animation preset from the built-in library (walk, run, jump, attack and more), or export the T-pose to animate elsewhere.
- Export as FBX or GLB, and choose whether to include the rigged skeleton or just the mesh.
Always test the weights before committing: rotate the shoulders, elbows and knees and look for stretching or tearing. Meshes from P2.0 deform far better than triangle output from H3.1 or v3.0.
10Export and send it where it's going
Click Export, pick a format and options (textures, normal maps, pivot, orientation), then download - or use a bridge to send the asset straight into your tool.
| Format | Best for |
|---|---|
| GLB | Web 3D, AR, quick previews, Three.js and most modern pipelines |
| FBX | Game engines (Unity, Unreal), rigged characters, animation; also the output for quad meshes |
| OBJ | Sculpting and broad compatibility with Blender, ZBrush and others |
| USD | Pipelines built on Universal Scene Description |
| STL / 3MF | 3D printing - load straight into your slicer |
First-party bridges cover Blender, Unity, Unreal Engine, Godot and Cocos, and the in-browser viewer and converter now handle 20+ formats. If a model will go into a game engine, run retopology (or generate with P2.0) before you export.
Which Tripo model should you pick?
Choosing the right model matters more than prompt-wrangling. Reaching for the heaviest model on a background crate wastes credits; reaching for the fastest on a hero prop wastes the render.
| Model | Speed | Pick it when… |
|---|---|---|
| Tripo P2.0 NEWEST | ~10–40 sec | The asset will be rigged, animated or put in a game engine. Native quad topology (up to 25K quads or 50K triangles), up to four versions per prompt, Mesh Edit and Smart UV. |
| Tripo H3.1 | Slowest | It'll be seen up close: hero props, collectibles, close-up renders and 3D prints. Dense, high-detail meshes. |
| v3.0 Ultra | Seconds | Everyday work, mockups, packaging and stylised characters. Ultra mode goes up to 2 million polygons. |
| Smart Mesh P1.0 | ~2 sec | You need dozens of clean low-poly props quickly - bulk generation for game clutter. |
How to write prompts that work
A good Tripo prompt describes one object in a consistent style. Use this structure: subject + material/style + key details + intended use. Leave out backgrounds, scenes and lighting - you want the object, not a picture of it.
Be specific about material
"Brushed steel", "worn leather" and "matte ceramic" steer both geometry and textures far better than "cool" or "detailed".
Ask for a neutral pose
For anything you'll rig, request a standing A-pose or T-pose with arms away from the body. It makes segmentation and auto-rig far more reliable.
One object, one prompt
"A knight and his horse" gets you a fused blob. Generate them separately and combine them in your scene.
When prompts fail, use an image
Image-to-3D is more predictable than text. Generate a concept with GPT Image 2 or any image tool, check it looks right, then convert it.
Workflow recipes by goal
Game prop
Image or prompt → P2.0 (quad) or Smart Mesh → pick the right face count → Smart UV → export FBX or GLB. Check scale and pivot in your engine.
Rigged character
Multi-view in a neutral pose → P2.0 → Mesh Edit to fix hands and details → Build & Refine → texture → Auto Rig → test weights → export FBX.
3D print
Image → H3.1 for density → check thin features and wall thickness → export STL or 3MF → slice. Always inspect the model in your slicer before printing.
Product or render mockup
Photo → v3.0 Ultra → One-Click with PBR → export GLB or OBJ → render in Blender. No need to retopologise for stills.
How credits work (and how to stop wasting them)
Every generation, texture and add-on spends credits, and what you pay depends on the model and options you choose. Plan credits reset monthly. As a reference, Tripo's developer documentation lists these costs for H3.1 on the API - the web app uses its own credit pricing, so treat these as a guide to relative cost rather than exact web prices:
| Task (API reference) | No texture | Standard | Detailed | 8K |
|---|---|---|---|---|
| Text to 3D | 10 | 20 | 30 | 40 |
| Image to 3D | 20 | 30 | 40 | 50 |
| Multi-view to 3D | 20 | 30 | 40 | 50 |
Add-ons stack on top: detailed geometry quality is the priciest at +20, generate in parts +20, smart low-poly +10, and quad mesh just +5. The takeaway holds on the web too: geometry upgrades and 8K textures cost the most, quad output is nearly free.
Common mistakes and quick fixes
| Problem | Why it happens | Fix |
|---|---|---|
| Back of the model looks wrong or melted | A single image gives no information about the hidden side | Upload 2–4 views (front, back, left, right), or regenerate and pick a better variant |
| Blobs, holes or warped shapes from a photo | Dark, blurry or heavily shadowed input; object cropped | Reshoot with even light and the full outline in frame |
| Model is too heavy for a game | High-poly output used directly | Use Retopology or Smart Low Poly, set a face limit, or generate with P2.0 |
| Rig tears or stretches at joints | Triangle meshes from H3.1 / v3.0 deform poorly | Generate with P2.0 quads, use a neutral pose, test and fix weights in your DCC tool |
| Texture seams or smudged patches | Texture was generated from one angle | Use Magic Brush with the camera locked on the problem area |
| Parts fused together | Model generated as a single mesh | Re-generate with Generate in Parts, or fix with Segmentation brush and Merge |
| Segmentation changes disappear | The operation wasn't confirmed | Click Confirm after every segmentation step |
| Can't download or use commercially | Free-plan limits and licence | Upgrade to Pro for private, commercially usable assets and unlimited downloads |
Where to go from here
The fastest way to learn Tripo is to run the same object through two models and compare. Take one clean reference photo, generate it with H3.1 and again with P2.0, then try Retopology on one and Mesh Edit on the other. Within a few runs you'll know which path fits your work.
If you're still deciding whether Tripo is the right tool, read our Tripo AI review, or see how it stacks up in our Meshy AI review - the two are close, and plenty of studios use both.
Try the workflow on your own object
Sign up free, generate a few models, and see how far the free credits get you before you pay for anything.
Visit Tripo AI →Frequently asked questions
How do I use Tripo AI for free?
Create a free account at Tripo Studio and generate from a text prompt or image using the monthly free credits (about 200). Free models are public under CC BY 4.0, can't be used commercially, and downloads are capped, so it's best for learning and experimenting. Upgrade to Pro ($19.90/month) for private, commercial-use assets.
Is Tripo AI good for beginners?
Yes. One-Click mode takes a prompt or image to a finished textured model with no 3D knowledge needed, and the Studio tabs (Segmentation, Retopology, Texture, Rigging) are laid out in a sensible order if you want to go further.
Should I use text or image input?
Use an image whenever you have a clear idea of the object - it's far more predictable. Text is better for brainstorming. For the best result on complex objects, use two to four views of the same subject.
How long does Tripo take to generate a model?
Roughly 2 seconds on Smart Mesh, a few seconds on v3.0 Ultra, about 10 to 40 seconds on P2.0, and H3.1 is the slowest. That's several times faster than most 3D generators.
What is Mesh Edit and how do I use it?
Mesh Edit, introduced with P2.0 in September 2026, lets you select one region of a generated mesh and regenerate just that region while the rest stays unchanged. Use it to fix a hand, a handle or a strap instead of re-rolling the whole asset, and do it before texturing, rigging or exporting.
Can I use Tripo models for 3D printing?
Yes. Export STL or 3MF and open it in your slicer. H3.1's dense geometry suits printing best, but always check thin features and wall thickness in the slicer first.
Can I upload my own 3D model into Tripo?
Tripo is built around generating models rather than importing them, and Tripo's own Studio tutorial listed local upload as "coming soon". The in-browser viewer and converter opened up to 20+ formats in August 2026, so check the live app for what's currently supported.
Which export format should I choose?
GLB for web and AR, FBX for game engines and rigged characters (and for quad meshes), OBJ for sculpting tools, USD for USD pipelines, and STL or 3MF for 3D printing.
Product images courtesy of Tripo. Interface names, credit costs and feature details were checked against Tripo's tutorials, developer documentation and release announcements in October 2026. Tripo updates Studio frequently, so button names and costs may differ slightly in the live app. This page may contain affiliate links; it does not affect our editorial content.