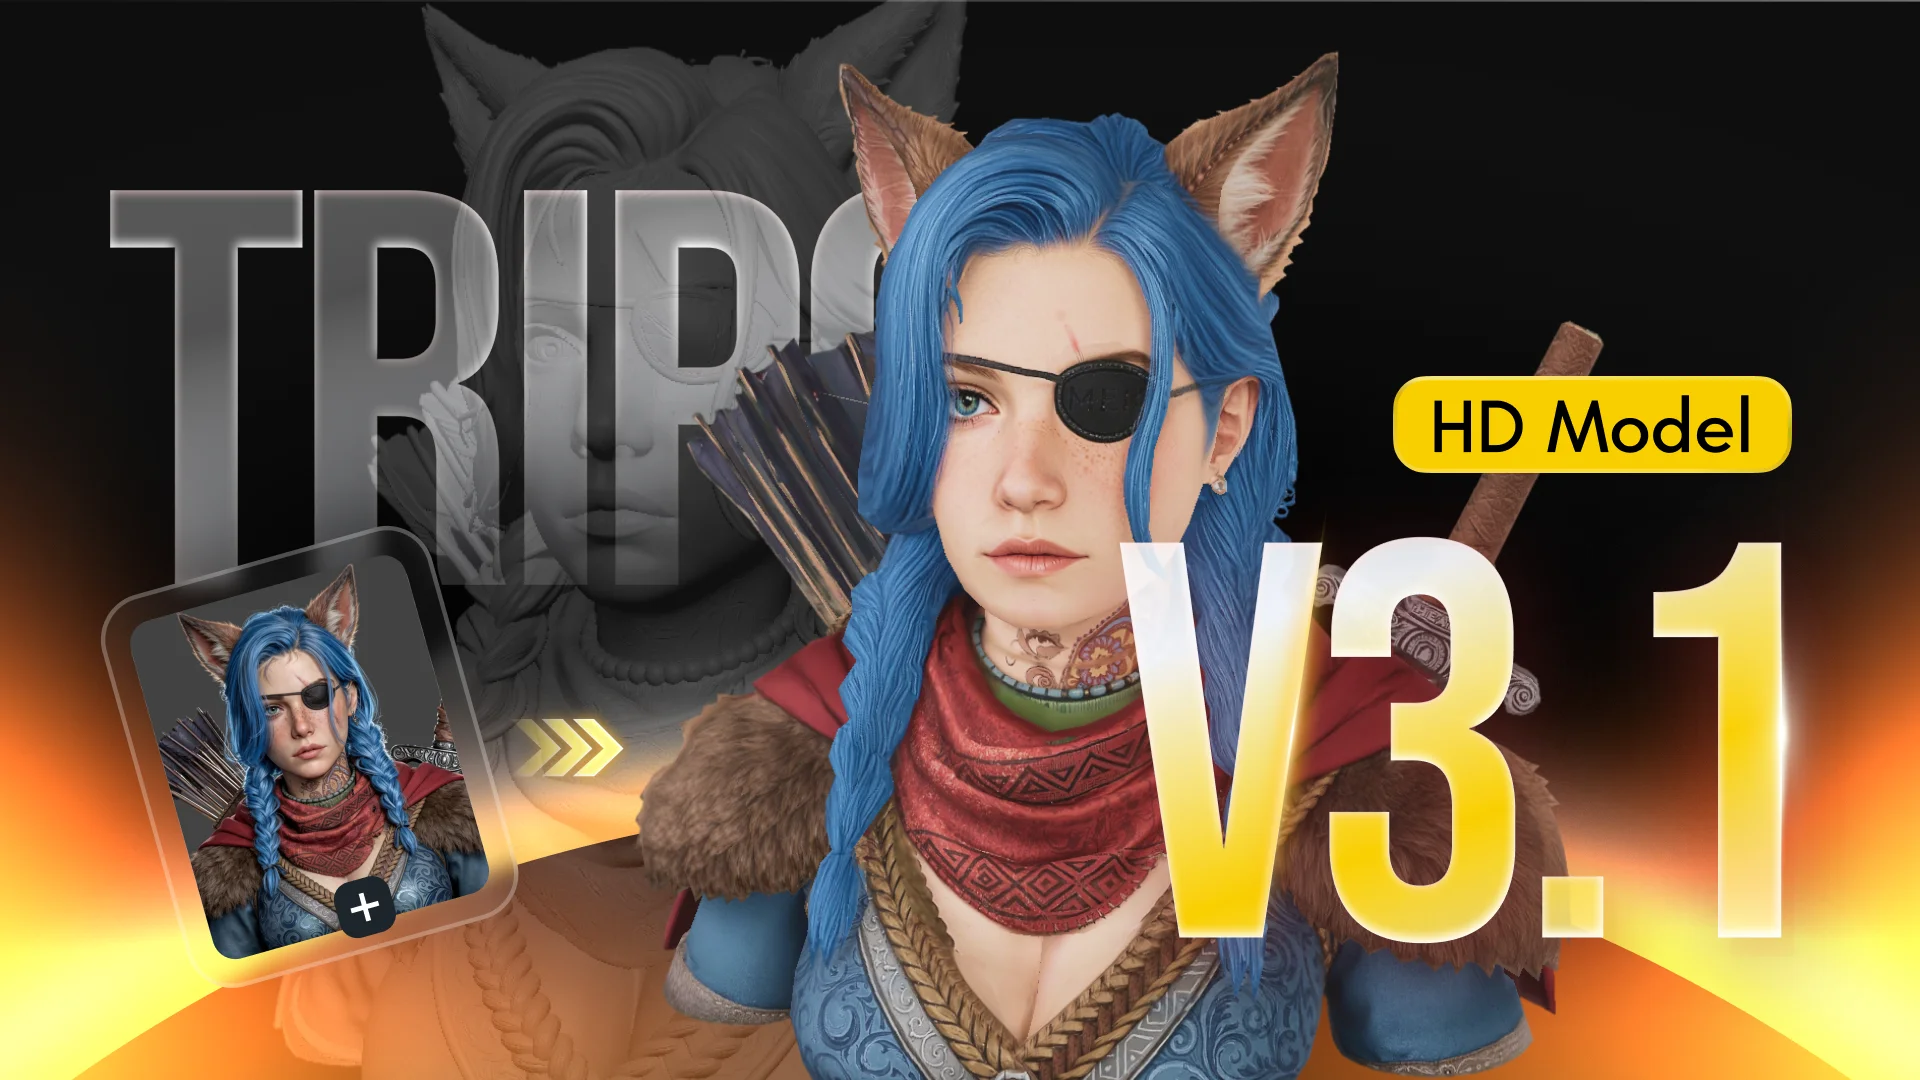
Image-to-3D quality is decided mostly before you click Generate. Get the image right and the settings barely matter.
- Pick a clear reference - whole object in frame, even lighting, plain background, three-quarter or front view.
- Decide single or multi-view - one image for simple objects; front, back, left and right views for characters and anything with a hidden side.
- Set your options - model (P2.0 or H3.1), geometry quality, texture on or off, topology (quad or triangle) and a face limit.
- Generate and inspect - orbit the model, especially the back, and check for holes, fused parts and baked-in lighting.
- Fix, texture and export - re-roll with a better image, repaint with Magic Brush, or regenerate one region with Mesh Edit; then export GLB, FBX, OBJ or STL.
What Tripo's image-to-3D actually does
Tripo reconstructs a full 3D mesh - front, sides and the parts you can't see - from a reference image, then optionally wraps it in PBR textures. It's trained on a very large library of 3D assets, so it fills in hidden geometry by educated guessing. That guess is where almost every image-to-3D problem comes from, and it's why giving the model more information (a cleaner image, or more angles) beats fiddling with settings.
Single-image
One reference in, one model out. Fast, cheap and good for simple or symmetrical objects. The back is always a guess.
Multi-view
Up to four views - front, back, left and right - for much better accuracy. Needs a Pro plan or higher in the web app.
Batch
Batch generation takes several images at once (up to 10 on Pro, 30 on Max) for bulk asset work.
Which models take images? P2.0 (native quad topology, multi-view with front/back/left/right), H3.1 (maximum detail) and v3.0 Ultra (all-round) all accept image input, and the older v3.0 and 2.5 generations are still around. If you haven't decided which to use yet, see which Tripo model to pick.
The image-to-3D workflow, step by step
1Choose the right reference image
Open Tripo Studio, go to the Generate tab and switch to image input. Before you upload, check your image against this list:
- Format and size: JPEG, PNG or TIFF, kept under about 10 MB (under 5 MB per image for batch upload).
- Whole object visible: never crop the outline - Tripo has to guess whatever's missing.
- One subject: a single object, centred, with room around it.
- Clean light: even, soft lighting; no hard shadows, glare or motion blur.
- Neutral pose: for characters, an A-pose or T-pose with arms away from the body.
2Clean up the image before uploading
A two-minute edit pays off more than any generation setting.
Do
- Remove busy backgrounds, or replace them with a plain one
- Use a background that contrasts with the subject's colours
- Straighten and centre the object
- Use a high-resolution source for fine detail like faces and engraving
- Keep lighting consistent if you're using several views
Avoid
- Backgrounds the same colour as the subject - parts blend into it
- Strong coloured lighting that gets baked into the texture
- Screenshots with UI, watermarks or captions in frame
- Reflective or transparent subjects (glass, chrome) when you can avoid them
- Heavily intricate surface patterns that can confuse the shape
A practical trick from creators working with AI concept art: if the model merges part of the subject into the background, regenerate or recolour the background in a high-contrast colour and try again. It's often all it takes.
3Decide: single image or multi-view?
| Use… | When | Trade-off |
|---|---|---|
| Single image | Props, symmetrical objects, quick iterations, product shots with one obvious view | Cheapest and fastest; hidden side is guessed |
| Multi-view (2–4 images) | Characters, vehicles, asymmetrical objects, anything going to a rig or a hero shot | Costs a little more; far more accurate back and sides |
Multi-view rules that matter:
- Provide at least a front and a side/profile view; add back and the opposite side for best results.
- Keep lighting, scale and pose identical across every view. Mismatched views create a confused mesh.
- No camera? Generate a consistent turnaround with an AI image tool, then check each view matches before uploading. Clean, evenly-lit views work better than dramatic ones.
4Choose your generation settings
These are the options that change the result. Names can vary slightly between Studio and the API.
- Model: P2.0 for rig-ready quad output, H3.1 for maximum detail, v3.0 Ultra for balance.
- Geometry quality: Standard for most jobs; Detailed (or Ultra mesh resolution in Studio) when fine surface detail matters. It costs more credits.
- Texture: off for a clean mesh you'll retexture later, on for the colours from your image, or PBR for engine-ready materials.
- Topology: triangle or quad. Quad output is nearly free and exports as FBX.
- Smart Low Poly: clean, lightweight geometry - best on simple inputs.
- Face limit: cap the polygon count for real-time use (P2.0 tops out at 25K quads or 50K triangles).
- Seed: reuse the same seed with the same input to reproduce a mesh exactly; change it for a new take.
5Generate and inspect before you do anything else
Hit Generate. Depending on model and quality it takes anywhere from a couple of seconds to about a minute. When it lands, spend a minute inspecting it:
- Orbit 360° and look hardest at the back and underside.
- Check thin parts - antennas, straps, fingers, handles - for breaks or fusing.
- Look for holes or floating fragments and parts that merged with the background.
- Check the texture for baked-in lighting or shadows from your photo.
- Compare silhouette to the reference from the same angle.
If the base is wrong, regenerate with a better image or a new seed. Polishing a bad base wastes credits.
6Improve what's close, don't redo what's right
- One region wrong? On a P2.0 model, use Mesh Edit to regenerate only that area while keeping the rest.
- Texture off or muddy? Retexture with an image or text prompt, or use Magic Brush (lock the camera on the bad spot first).
- Parts fused together? Run Segmentation, fix with the brush, then merge or separate parts.
- Too heavy for your engine? Use Retopology or Smart Low Poly with a face limit.
Details for each of these tools are in our full workflow guide.
7Export in the right format
| Format | Best for |
|---|---|
| GLB | Web, AR, previews and most modern pipelines |
| FBX | Game engines, rigged characters and quad meshes |
| OBJ | Sculpting and Blender/ZBrush round-trips |
| USD | USD-based pipelines |
| STL / 3MF | 3D printing and slicers |
Enable a bottom-centre pivot if the model will be placed on a ground plane, and check scale and orientation in your engine - generated models often need rescaling. Developers can also request real-world sizing through the API's auto-size option.
Pro workflow: geometry from one image, texture from another
The best results often come from separating shape from surface. Generate the geometry from a clean, evenly-lit reference (or a flat, neutral-shaded render), then apply the original, richly coloured image as the texture. This avoids two common failures: baked-in lighting spoiling the colours, and busy surface patterns confusing the shape.
The recipe
1) Generate with texture off from a clean, evenly-lit view. 2) Open the Texture tab. 3) Use Image-to-Texture with your original artwork. 4) Fix problem areas with Magic Brush. 5) Export.
When to use it
Illustrated or painted concept art, branded products, stylised characters, and any image with strong lighting you don't want in the final texture.
What to do for each type of image
| Image type | Best approach | Watch out for |
|---|---|---|
| Product photo | Single image, plain background, front or three-quarter view; texture on | Reflections and glare; logos on curved surfaces |
| Concept art / illustration | Single image for blockout, or multi-view if you have turnarounds; use the pro workflow for the texture | Perspective distortion and stylised proportions |
| AI-generated image | Generate a clean front view, check it, then convert; build a consistent turnaround for multi-view | Inconsistent details between generated views |
| Character | Multi-view in a neutral pose with P2.0 for quad topology | Hands, faces, and arms close to the body |
| Sketch | Clean, high-contrast linework on white; treat the result as a form study | Ambiguous depth; expect to iterate |
| Real-world object photos | 2–4 photos around the object in consistent light | Cluttered rooms, shadows and partial views |
Troubleshooting: when the result looks wrong
| What you see | Likely cause | Fix |
|---|---|---|
| Back of the model is mushy or wrong | Single image - the back was guessed | Add back and side views, or choose a better variant |
| Part of the subject missing or melted into the background | Background colour too close to the subject | Re-do the image with a high-contrast plain background |
| Shadows or highlights painted into the texture | Strong directional lighting in the photo | Use softer light, or generate untextured and retexture; try a delighting option where available |
| Thin parts broken or fused | Fine details too small for the resolution | Raise geometry quality, use higher-res input, or fix with Segmentation and Mesh Edit |
| Proportions off compared with the image | Wide-angle or perspective-distorted source | Use a flatter, less distorted view; try multi-view |
| Textures don't match the reference | Dark/shadowed image or low texture quality | Improve lighting, step up texture quality, or apply the original image via Image-to-Texture |
| Mesh is too dense to use | High-poly default output | Set a face limit, use Smart Low Poly or Retopology, or generate with P2.0 |
| Generation fails or stalls | Oversized file or temporary load | Compress below ~10 MB and retry |
Keeping image-to-3D credits under control
Tripo's developer documentation gives a useful picture of relative costs for H3.1 image-to-3D (web-app credits are priced separately, so treat these as a guide, not a quote):
| Image to 3D (API reference) | No texture | Standard | Detailed | 8K |
|---|---|---|---|---|
| Single image | 20 | 30 | 40 | 50 |
| Multi-view | 20 | 30 | 40 | 50 |
Add-ons on top: detailed geometry +20, generate-in-parts +20, smart low poly +10, quad mesh +5.
Iterate untextured
Texture is the biggest cost step. Get the shape right with texture off, then texture the winner once.
Start at standard
Only step up to detailed geometry or 8K textures for the final asset, not for drafts.
Fix the image first
A bad reference wastes every credit that follows. Spend two minutes on the input before you generate.
Next steps
Take one clean photo, generate it as a single image, then again as multi-view, and compare the back side. That single experiment will teach you more about Tripo's image-to-3D than any setting. Then run your best result through P2.0 and Mesh Edit if it's headed for a game engine.
For the rest of the toolset - segmentation, retopology, rigging and export - read our complete Tripo how-to guide, or see whether Tripo is the right fit in our Tripo AI review.
Turn your first image into 3D
Upload one clean photo and see what Tripo makes of it. The free plan is enough to learn the workflow.
Visit Tripo AI →Frequently asked questions
How do I convert an image to 3D with Tripo AI?
Open Tripo Studio, choose image input, upload a clear reference (the whole object, even lighting, plain background), pick a model and options such as geometry quality, texture and topology, then click Generate. Inspect the result from every angle, fix any issues, and export GLB, FBX, OBJ, USD, STL or 3MF.
What kind of image works best for Tripo?
A sharp, well-lit image with the whole object in frame against a plain, contrasting background. Front or three-quarter views of a single object work best, and characters should be in a neutral A-pose or T-pose.
Should I use one image or multiple images?
Use one image for simple or symmetrical objects and fast iteration. Use two to four views (front, back, left, right) for characters, vehicles and anything asymmetrical, since a single image forces Tripo to guess the hidden sides. Multi-view requires a Pro plan or higher in the web app.
Why does the back of my 3D model look wrong?
Tripo can't see the back of an object in a single image, so it predicts it. Add back and side reference views, or generate several versions and pick the best one.
Can I keep the colours from my original image?
Yes. Generate with texture on to carry colours across, or for the best control generate the geometry untextured and then apply your original image with Image-to-Texture, which avoids baked-in lighting from the photo.
Is Tripo's image-to-3D free?
The free plan includes about 200 credits a month, which covers a handful of image-to-3D generations. Free-plan models are public under CC BY 4.0, can't be used commercially and have capped downloads. Pro ($19.90/month) adds private models, commercial rights, multi-view and unlimited downloads.
Can I use the 3D model commercially?
On paid plans, yes - but you need the rights to the source image too. Don't convert artwork or photos you don't have permission to use.
What file formats can I export?
GLB, FBX, OBJ, USD, STL and 3MF. Choose GLB for web and AR, FBX for game engines and quad meshes, OBJ for sculpting tools, and STL or 3MF for 3D printing.
Product images courtesy of Tripo. Settings, credit costs and feature details were checked against Tripo's tutorials, developer documentation and partner guides in October 2026. Tripo updates Studio often, so option names and costs may differ slightly in the live app. This page may contain affiliate links; it does not affect our editorial content.